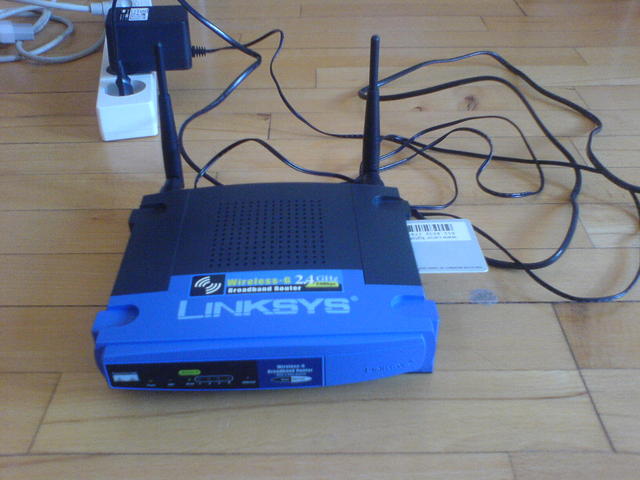
Tutorial: Adding an ISO 7816 card reader to your Linksys WRT54G

By Rasmus Rohde and Mads Ulrik Kristoffersen

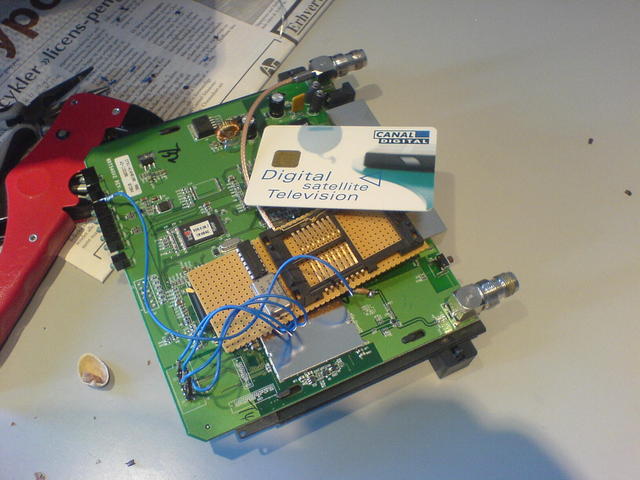
This project is for people who would like to add an ISO 7816 card reader to their Linksys WRT based router. We will connect it to one of the serial ports and use the DMZ GPIO to reset the card.

Pictures

What you need

How to proceed

  1. The following is a diagram of what we are trying to put together:
                         +3.3V (VCC)
                            o
                            /
                            \ 22K
                            /
                            \
                            |
    RxD o-------------------+--------------------------o I/O
                       |\   |
    TxD o--------------| |--+
                      1|/ 2
                      74LS07
    
                      pin 7=GND, pin 14=VCC


    DMZ o----------------------------------------------o RST
    
         1M         2.2k        3|\4
      +-/\/\/--+----/\/\/-----+--| o-----+-------------o CLK
      |        |2             |  |/      |
      |       -o-             |          |100 pF
      |     /_____\           |         ===
      |        |1             |          |
      |        | 3.579545 MHz |          |
      |        |     +--+     |          -      74HC04
      +--------+---| |  | |---+         GND     pin 5,7,9,11,13=GND,
               |     +--+     |                 pin 14=VCC=+3.3 V
               |27pF          |27pF
              ===            ===
               |              |
               -              -
              GND            GND
    
    RxD and TxD is the serial port inside the router. Actually you have 2 serial ports to choose from and the link will also tell you where to find 3.3V. DMZ is the LED on the front of the router. The oscillator design is of course just a suggestion. If you want to make it easy just buy a ready-made oscillator instead.
  2. Proceed by soldering wires to RxD, TxD, 3.3V, GND and DMZ inside the router.
  3. Now put together a little breadboard with the card reader, the 74LS07 and your oscillator of choice and connect them as described in the diagram. Pay special attention to how you choose to mount the reader on the breadboard as you will try to fit it nicely inside the router when done.
  4. If you can't remember the pin-out of your card reader here is a little help depicting the card which goes inside it:
               ______________________________________
    	 /                                        \
    	|                                          |
    	|                                          |
    	|    C1   C5                               |
    	|    C2   C6                               |
    	|    C3   C7                               |
    	|    C4   C8                               |
    	|                                          |
    	|                                          |
    	|                                          |
    	 \________________________________________/


    	C1	VCC	Supply voltage
    	C2	RST	Reset signal
    	C3	CLK	Clock signal
    	C4	-	reserved
    	C5	GND	Ground
    	C6	VPP	Programming voltage (5-25 V)
    	C7	I/O	Data input/output
    	C8	-	reserved
    
  5. Mount the card reader somewhere inside your router. If you are a bit clever you can actually make it fit nicely at the side of the router in the top.
  6. That was easy. We are now ready for the software part.

Software

The software part is actually pretty easy since tools have already been written for you. The NewCS software package comes bundled with a pre-compiled OpenWRT MIPS version, which I suggest you use. This of course means that your life will be a lot easier if you choose OpenWRT as your firmware on the router.

With OpenWRT installed you still need some packages installed to get NewCS running. At the moment they can be found at http://downloads.openwrt.org/whiterussian/packages/. You will be needing libgcc, libopenssl, libpthread and kmod-diag.

That's it!


Valid XHTML 1.0!